Supervision & Quality Control
Supervision
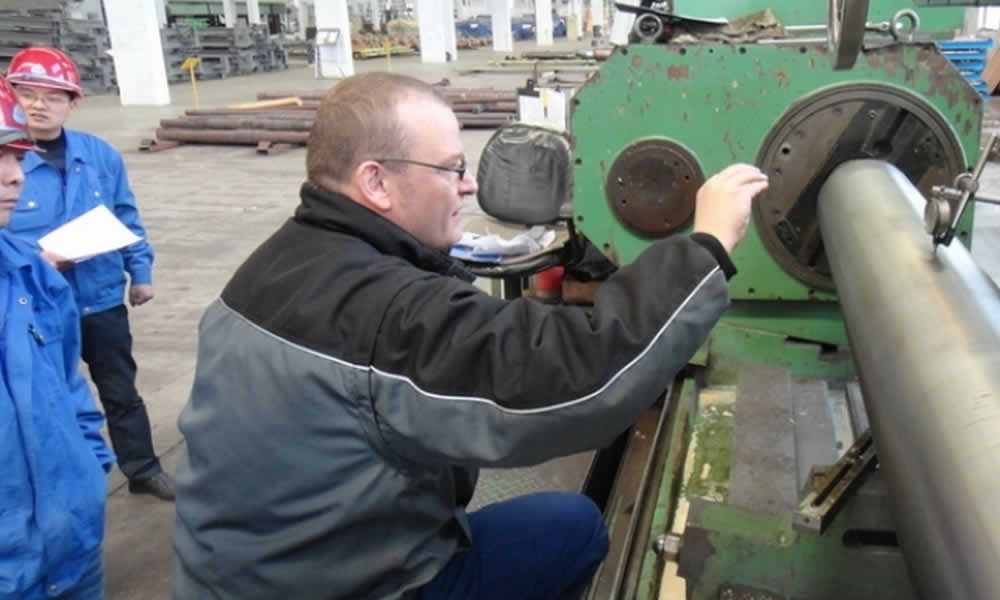
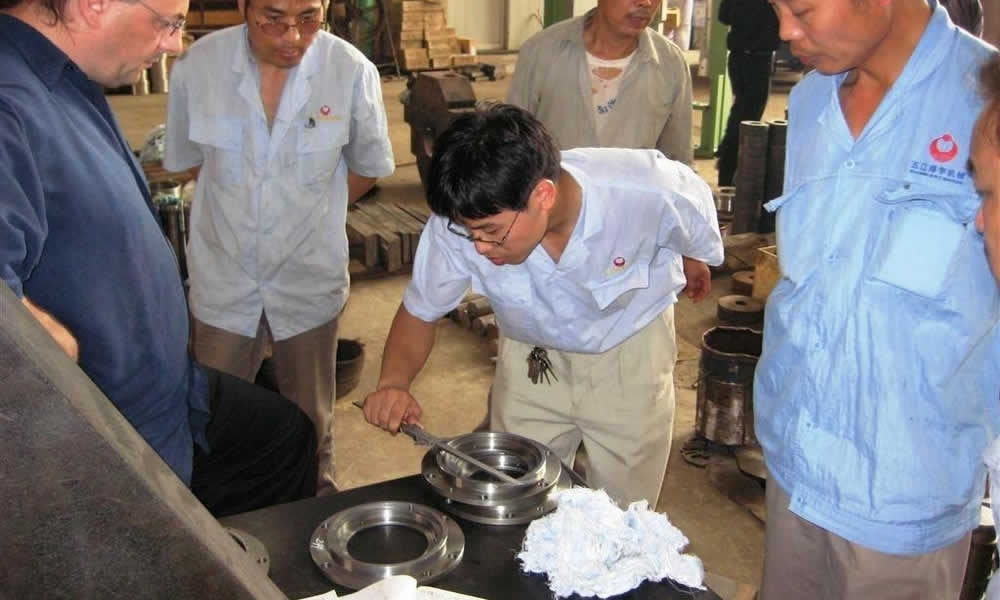
For your support we elaborate a multitude of overviews, check-and task lists etc. Do give you an idea; we add some example statements from our project architecture.
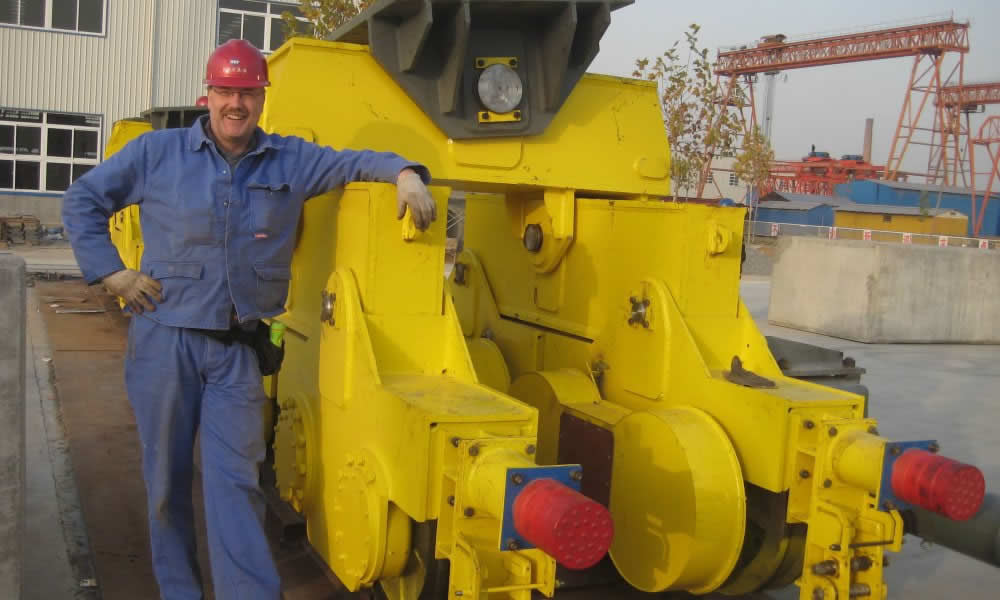
Inspection reports assembly test

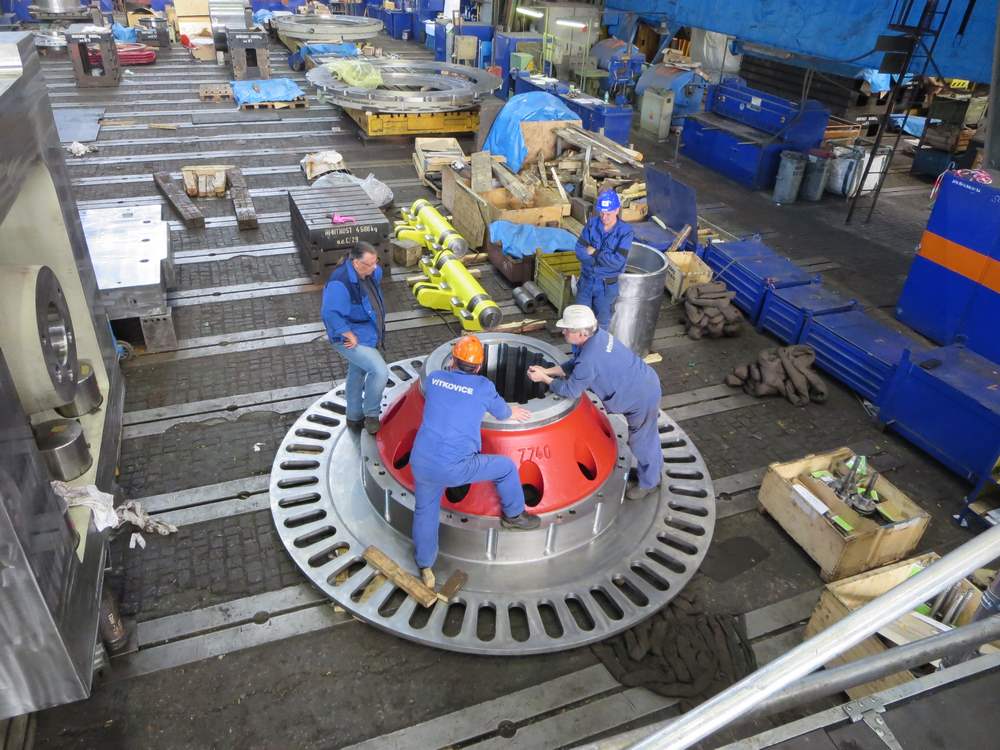
- Complete assembly of components
- Assembly under taking into account the assembly remarks in the drawing / specifications
- Routing / installation of all service piping up to the site connection
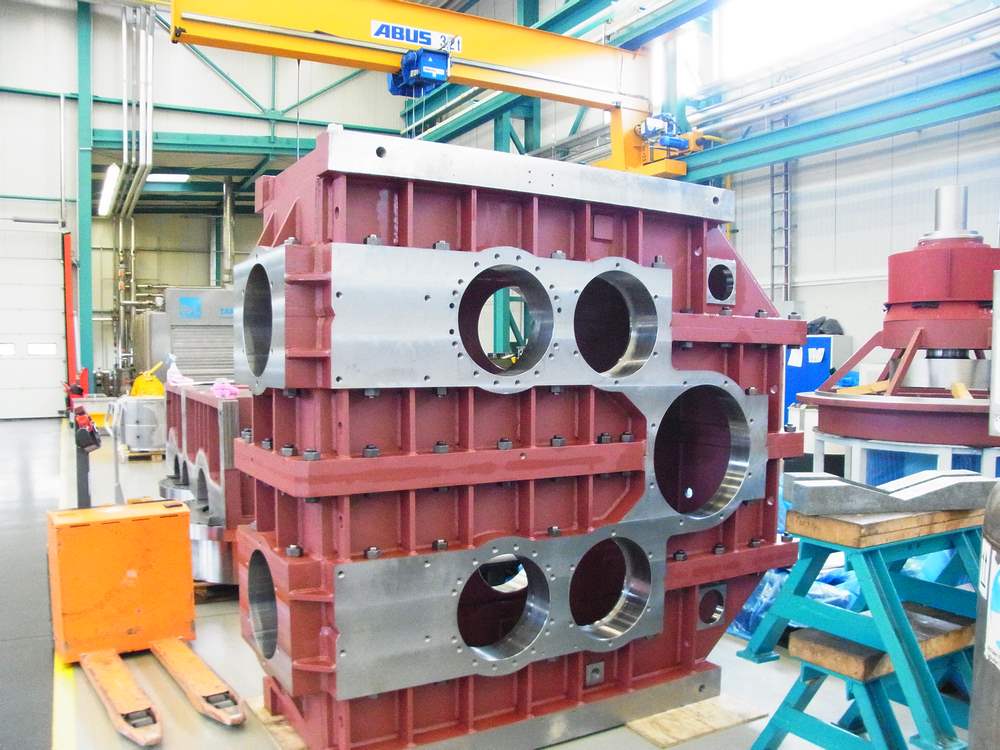
- Checking of position, dimensions and cleanliness of lube holes and lines
- Filling of grease lines and bearing body with grease
- Marking of the assembled components (in workshops) by stamping figures
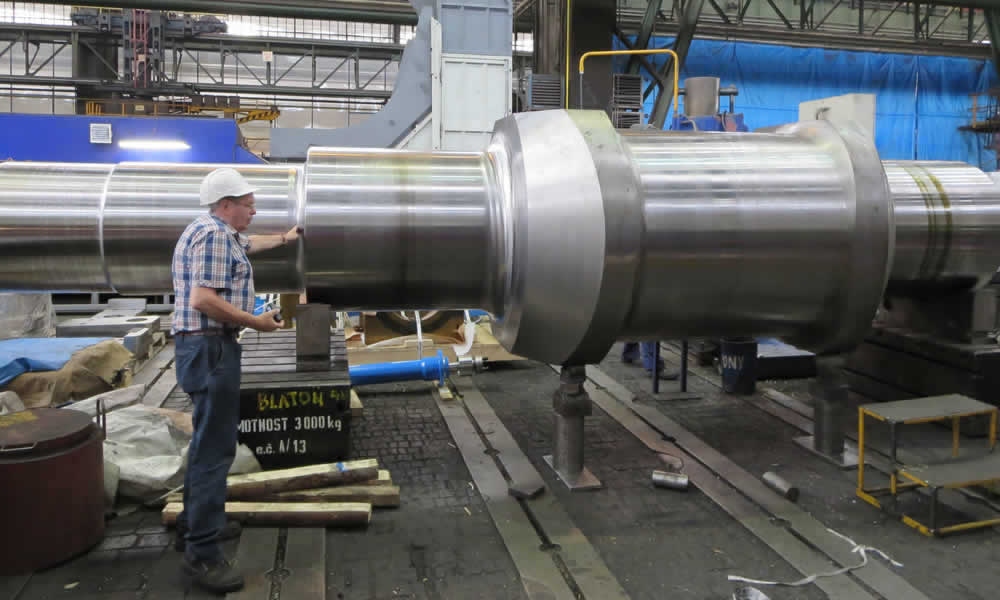
Inspections and tests

Certifications, from an independent acceptance representative named by the manufacturer and by the client as well.This certifies the test results and requirements, which are determined in the purchase order, are fulfilled with additional details included.
A manufacturer can only adopt test results based on specific tests in the acceptance certificate 3.2 in compliance with the EN 10204.
Under this conditions a back up method is required which ensures the trace back of the used material and the existence of an adequate test acceptance.
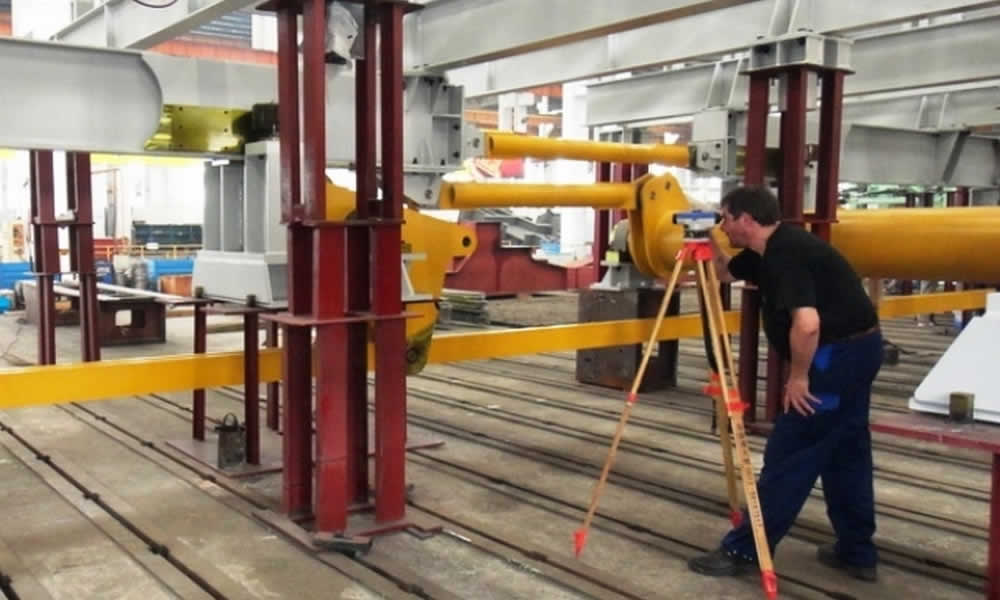
Inspection reports dimensional check

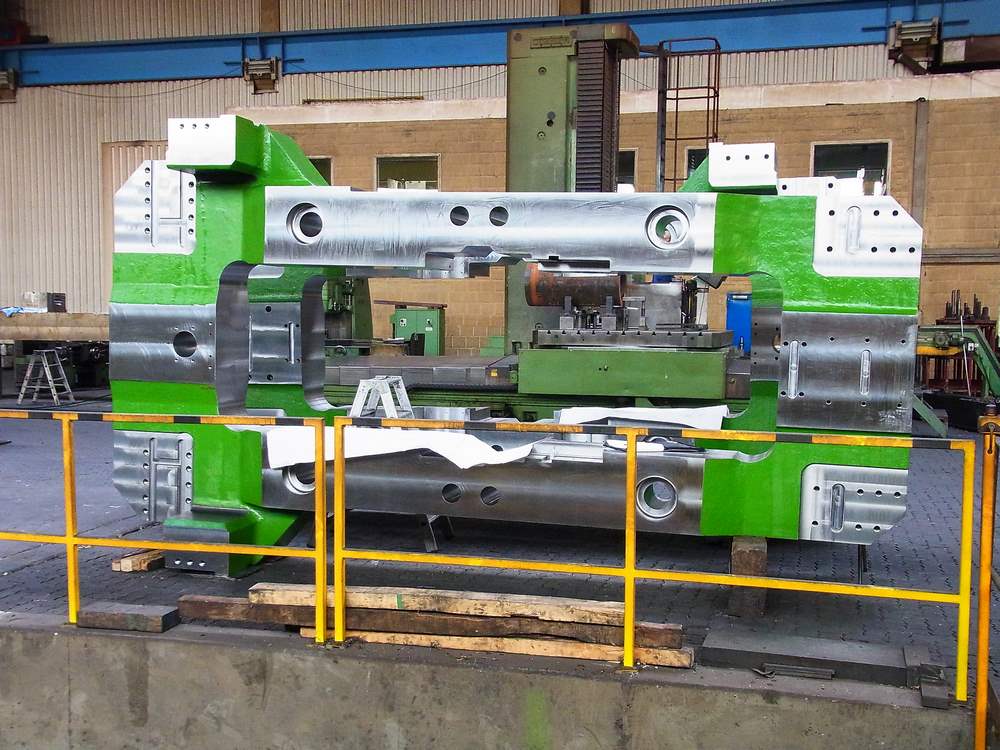
- Moving of all cylinders, checking of cylinder strokes
- Checking of traversing distance
- Checking of level surface of tracks in lowered / lifted position
- Anchor in holes: diameter and hole spacing / -image
Inspection reports function tests

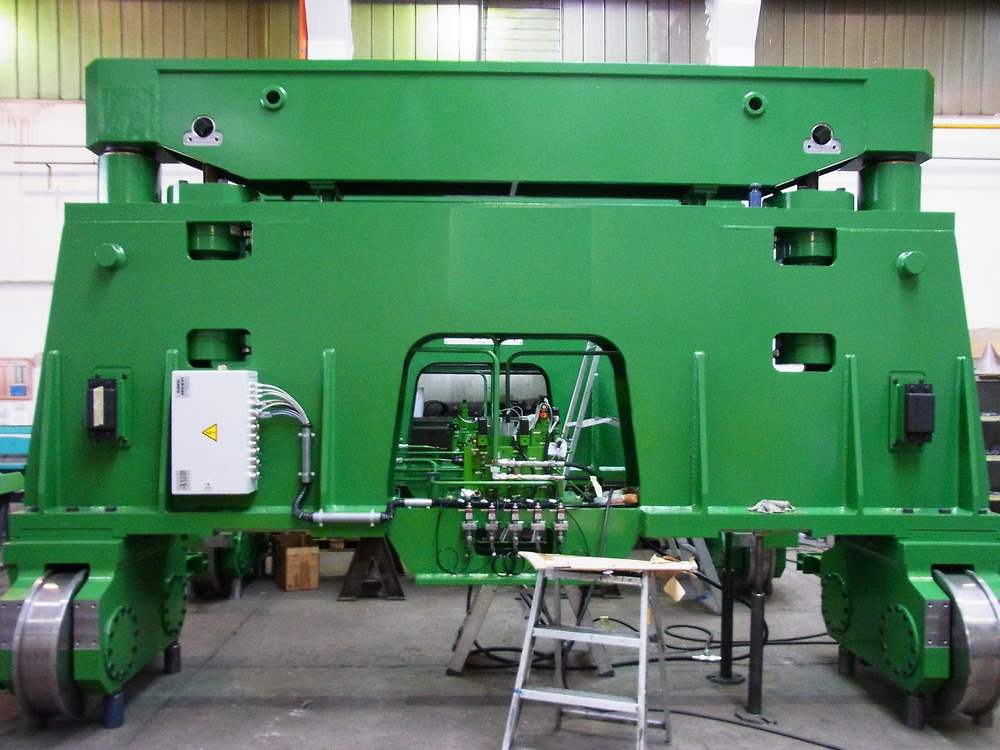
- Performance of functional test on completion of assembly
- Performing of functional test by means of auxiliary / hydraulic devices
- Check all traversing distances and mechanical movements
- Check all movable items for ease of movement
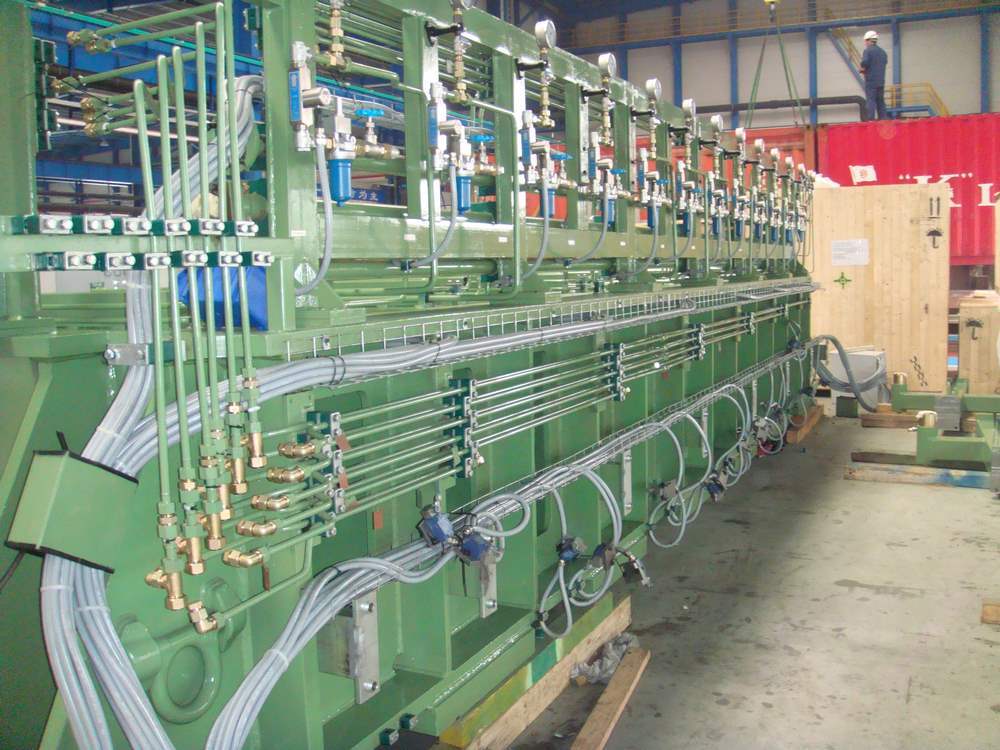
Inspection reports visual check pipe lines and hose

- Completeness
- Design acc. to drawing / circuit diagram
- Number and position of supports
- Accessibility of pipe couplings
- Standard parts acc. to bill of material (pipe couplings, flanges, etc.)
- Assembly of pipe couplings (greased, O-rings, tightening torques)
- Nozzle positions
- Hose lines (torsion-free, tension-free, functional length / ease of movement)
- Hose protection (Edge-/ heat-protection)
- Fillings (class, quantity)
- Surface treatment (painting, preservation, pickling)
Inspection reports and visual check of tanks and vessels
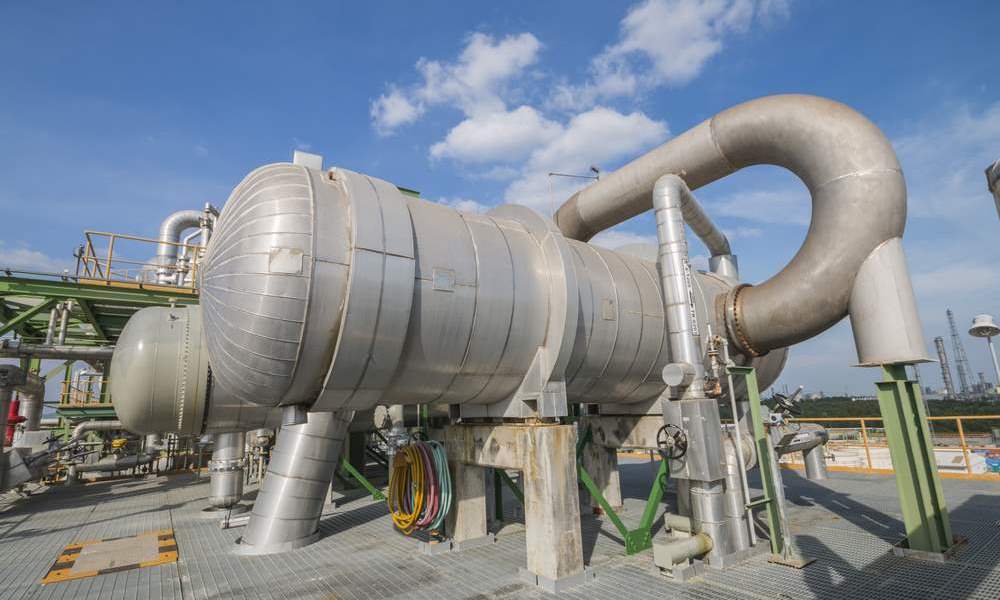
Examples for inspection criteria
- Tightness test
- Pressure test
- Position of bolt holes (flanges)
- Fasteners
- Connecting dimensions
- Cross-sectional of piping / bending radius
- Weld seam grade acc. specifications / regulations
- Inspection of excessive penetration of welding seams
- Inspection of spatter at broach inside surface
- Checking Pickling (manual / tank)
- Internal coating / external coating
- Cleanness of broach inside surface
- End covers for transport
- X-ray test
- Surface crack test
- Ultrasonic tests
- NDT – non destructive tests
Inspection reports visual check

- Completeness (acc. Drawing, bill of material, order, etc.)
- Identification / marking (with label) of standard- / catalogue parts acc. to drawing
- Tensile strength of screws / bolts
- Cleanliness (oil, grease, dirt, chips)
- Accessibility for assembly / disassembly (bolts, screws, hinged pints)
- Accessibility for adjustment / maintenance (lubrication points, filling nozzles, sight classes, etc.)
- Screw locking (bonding, circlips, cotter pins, etc.)
- In – transit safety devices
- Surface treatment (painting, preservation) acc. to order, procurement instructions
Projektbilder


